Five-minute getting started
This is a short path from sign-in to your first successful conversation so new users can get comfortable in about five minutes. Menu names may differ slightly from the console; if wording differs, use the equivalent on screen.
-
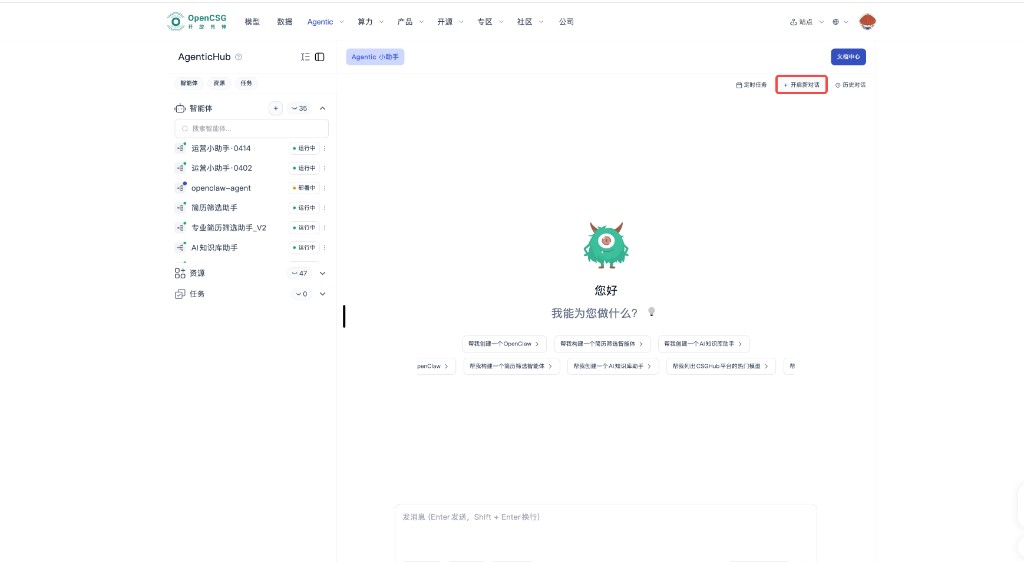
After signing in as in Account and environment, open the AgenticHub entry to reach the AgenticHub home.
-
Make sure you are in the main Agentic assistant or home chat area. If a previous session’s context is still active, start a new conversation to avoid old topics mixing into this practice run.
-
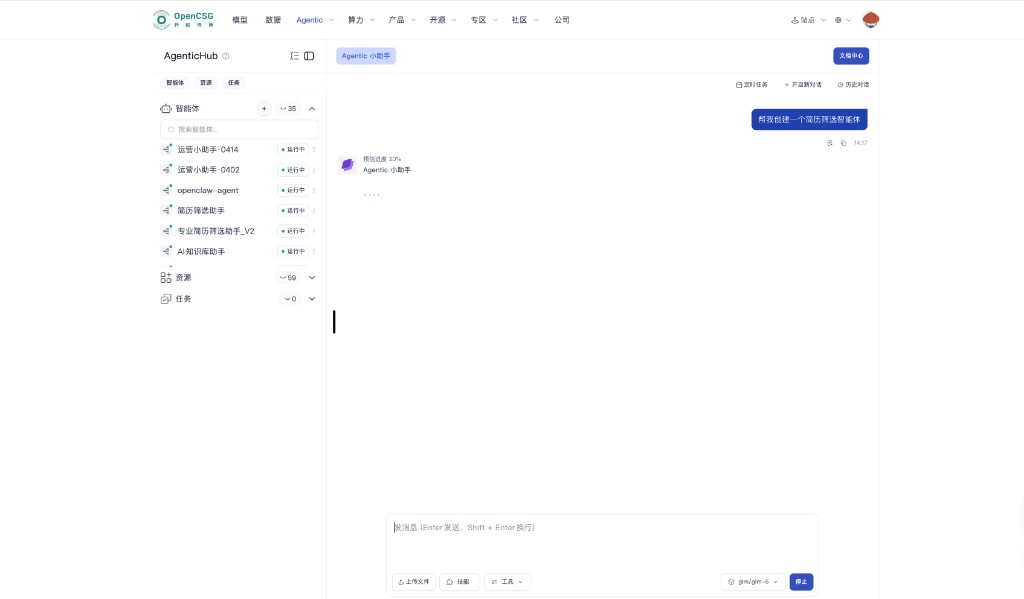
In the Agentic assistant input, describe the agent you want in one sentence, e.g. “Help me build an agent for HR resume screening,” pick a model if needed, and send. After sending, you may see progress or status indicating the assistant is generating or applying configuration.
-
As creation or configuration proceeds, read the on-page instructions for required materials and optional steps. The HR resume flow today is mainly manual upload of resumes and job descriptions inside AgenticHub; if the page also shows CLI examples or parameters, read them for meaning—you should not assume off-portal auto submission or IM pull.
-
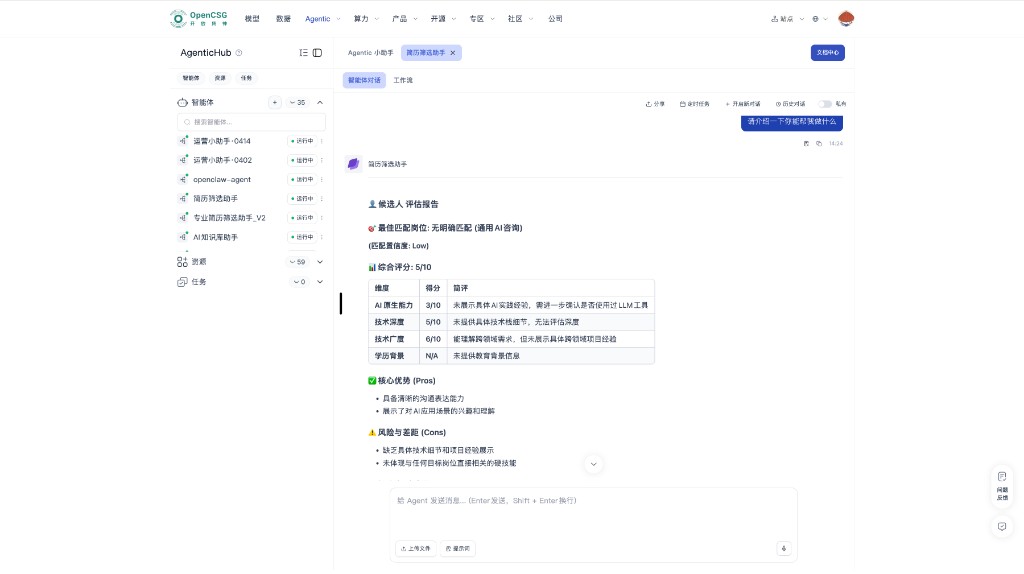
In the left instance list, open the target instance, enter the agent chat or workspace, follow any welcome text, and send your first message from the input area; upload files for a minimal end-to-end check if needed.
-
When the reply meets expectations, add skills, tools, resources, or scheduled tasks step by step.
After these steps, you have closed the loop from account to a working agent. For deeper orchestration, scheduling, OpenClaw, and MCP, see OpenClaw, MCP, and Scheduled tasks; for layout, see UI tour.